 |
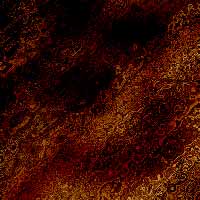
Figure 1
|
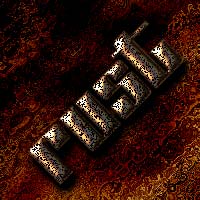
Sometimes
our images need some spicy backgrounds, and here I'll show you how
to make a really rusty texture.
Figure 1 shows you the result of this tuturial... |
 |

Figure 2
|
I started
with a new image, 200 x 200 pixels, transparent background.
Choose a light beige color as foreground color (#9E8B75), and fill
your first layer with this color (fig. 2). |
 |
Figure 3
|
Now we'll
have to add some noise to this layer:
Filter - Noise - Add Noise - Amount 40 - Gaussian + Monochromatic. |
 |
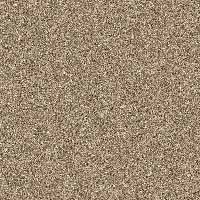
Figure 4
|
Your image
should now look like fig. 4. |
 |
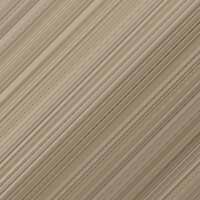
Figure 5
|
Still at the first layer run Filter
- Blur - Motion Blur:
Angle: 45
Distance 999 pixels
Your image should now look like fig.
5.
|
 |
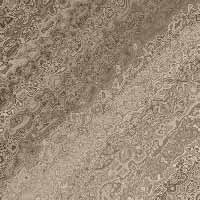
Figure 6
|
Now we are
going to add some Ocean Ripple:
Filter - Disort - Ocean Ripple:
Ripple size: 9
Ripple Magnitude: 9
You image should now look like fig.
6.
|
 |
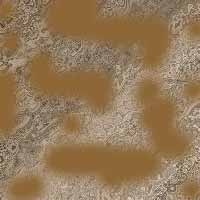
Figure 7
|
Make a new
layer.
Select a darker brown color as your foreground color (#866636).
Activate the Paintbrush Tool and select a soft brush (35).
Paint a few strokes so your image looks like my fig. 7.
Now go to Filter - Blur - Gaussian Blur - Radius: 7 pixels.
And then: Filter - Blur - Motion Blur:
Angle: 45
Distance 40 pixels. |
 |
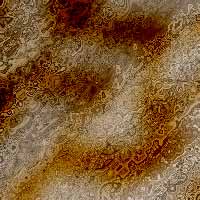
Figure 8
|
On the same
layer change the layer mode from Normal to Color Burn.
Your image should now look like fig.
8.
|
 |
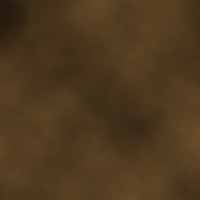
Figure 9
|
Create a
new layer.
Make #866636 your foreground color and black your background color.
Filter - Render - Clouds.
Change the layer mode from Normal
to Color Burn, and turn down the layer opacity to about 60% (if
you want the rust effect to be a little lighter enter a smaller
value...)
|
 |
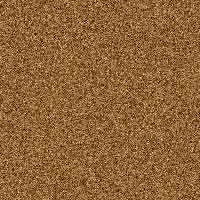
Figure 10
|
Create a
new layer, and fill the layer with the brown color.
Filter - Noise - Add Noise:
Amount: 35
Gaussian + Monochromatic
Change the layer mode from Normal
to Soft Light.
|
 |
 |
Finished!
Play around with the settings and
you'll see there are no limits to the different effects you can
make out of this tutorial.
Have fun :o)
|
| |
|
|
| |
 |
|


