 |
  |
|
|
 |
Here's
how I made the mouse in the Nocturnal Creations logo. Thank you
Scott for letting me put this tutorial online :) |
|
 |
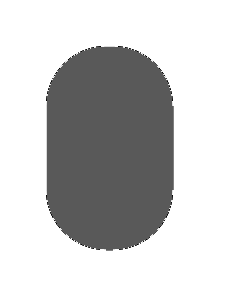
Then
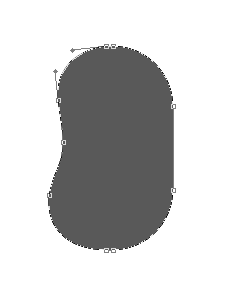
activate the Direct Selection tool Click the center of your shape to highlight the path, and then click along the path so that you can see the anchor points. |
|
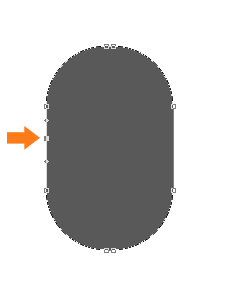 |
Then
activate the Add Anchor Point tool found by right clicking on the
pen tool in the toolbar Then add a new anchor point like shown in step 3. |
|
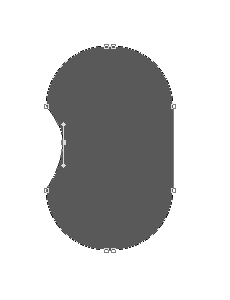 |
Now
move the cursor slightly to the right of the new anchor point. That
will make it turn into the Direct Selection tool ( |
|
 |
Then do the same to the anhor point just above and below the new anchor point so that your image look like the image shown in step 5. | |
 |
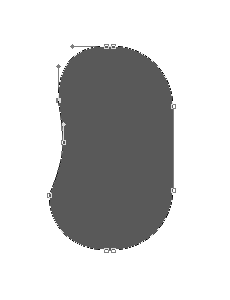
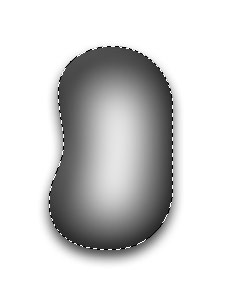
Now
select the Convert Point tool We have to adjust the anchor points above and below the new anchor point a little bit to make the curve nice and smooth. Experiment a bit by draging the handles until you think the curves look the way you want them. |
|
 |
Your mouse shape should now look something like the image shown in step 7 :) | |
 |
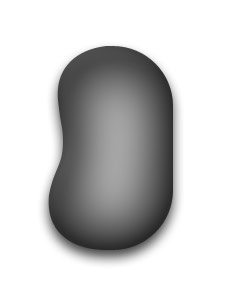
Ok
- time to add some basic layer styles to the mouse. I added some drop shadow with these settings. Some inner glow with these settings. Anf some bevel and emboss with these settings. |
|
 |
Ok
- time to make some highlight on the mouse. I painted
the highlight using the Paint Brush tool |
|
 |
Still at the HIGHLIGHT layer Ctrl + click the MOUSE layer to load its transparency. | |
 |
Now
go to Filter - Blur - Gaussian blur - 15 pixels. Deselect (Ctrl + D). |
|
 |
Then
drag the opacity down to about 54 %. Ok
- now it's time to add some details to the mouse. |
|
|
|
Only permitted Images and Material may be downloaded from this web site.