 |
  |
|
|
|
|||||||||||
|
I just
tried out the liquify tool the other day - and bam! I fell in love
instantly :) You access the tool by hitting Shift + Ctrl + X or go to Image - Liquify.
|
|||||||||||
|
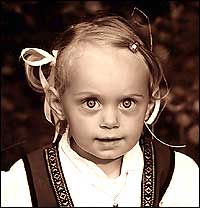
This
tool is truly great when it comes to manipulating photos. Picture 3: Now this is more serious. This is also made from picture 1, but this time I just wanted to make my daughter look a little more happy. And I think it turned out really well. As you can see I lifted the left eyebrow a little bit to make her eyes more open, and then I used the brush to make a little Mona Lisa smile on her. SO - as you see - this tool could be very useful in retouching your favorite photos.
|
|||||||||||
 |
Just
another example for you :) Well - I have looked better... |
||||||||||
|
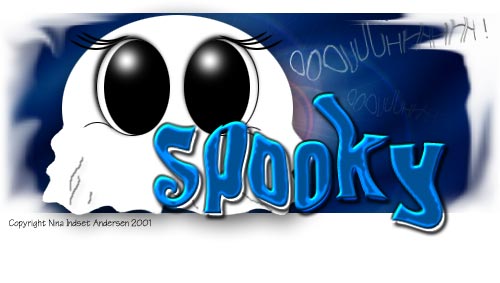
This
tool is excellent when it somes to making special effects on text. The
"Spooky" text is just an ordinary font that I have dragged
around a little bit to make it look this way. Then I added a nice
Bevel and Emboss effect and some drop shadow with the layer styles. |
|||||||||||
 |
|||||||||||


Only permitted Images and Material may be downloaded from this web site.