 |
  |
|
|
 |
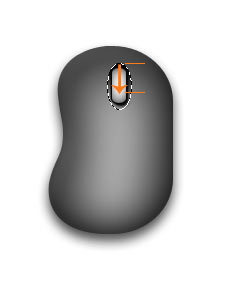
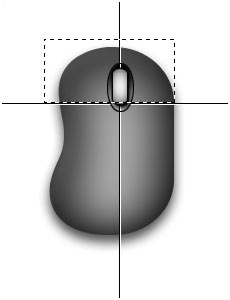
Ok
- time to add the wheel/scroller. Select
the Rounded Rectangle tool |
|
 |
Then
we'll have to add some layer styles to the wheel... Add a drop shadow (#231F20) with these settings. Outer Glow with these setings. Inner Glow with these settings, and Gradient Overlay with these settings. (The two colors used in the gradient overlay are #4B4B4B as the darkest color, and #CDCBCB as the highlight color). |
|
 |
Then
I added a highlight to the wheel. Create a new layer above the WHEEL layer and call it HIGHLIGHT WHEEL. Select the Pencil tool Hold down the Shift key and drag a line similar to mine in step 15. Then go to Filter - Blur - Gaussian Blur - 3 pixels. Point your mouse over the image to the left to see how the highlight will look like after the blur... |
|
 |
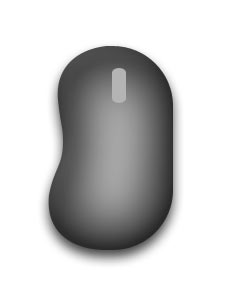
Hehe
- ok, I found the mouse to be a bit out of proportions so I did a
Edit - Free Transform to the MOUSE layer - and dragged the lower edge
a bit up until my image looked like the image in step 16. Ok - let's move on... |
|
 |
It's
time to make the dent below the wheel. Create a new layer below the wheel layer and call it DENT. Select the Elliptical Marquee tool and drag out a selection similar to mine. Then select the Gradient tool While holding down the Shift key click and drag the gradient like shown in step 17. Before you deselect be sure you save your selection! (Select - Save selection - call it Dent) |
|
 |
Create
a new layer above the dent layer and call it INSET LINE. Now
Duplicate the Inset line layer by dragging it down to the Create
new layer tab. |
|
 |
Then
do the same using the Single Row Marquee tool |
|
 |
Remember
I told you to save the "Dent selection" Well - create a new layer and load the selection (Select - Load Selection). Have black as the foreground color and do an Edit - Stroke - 1 pixels - Outside. Still at the same layer make a selection similar to mine by using the Rectangular Marquee tool.Make sure it's right above the black horisontal inset line. Hit the delete key to get rid of the selected area. Deselect. |
|
 |
Then duplicate the layer, Image - Adjustments - Invert - and nudge the layer one pixel down using the arrow keys. | |
 |
Ok
- now it's time to get rid off the inset lines outside the mouse... Ctrl + click the MOUSE layer to load it's transparensy. Then hit Ctrl + Shift + I to invert the selection. Now select the different inset line layers one by one and hit the Delete key to get rid off the inset lines outside the mouse... When you're done your image should look like mine in step 22. Deselect. |
|
 |
Ok
- activate the INSET LINE layer we created in step 18. Then load the Dent selection. Select the Rectangular Marquee tool and set the Add to Selection option. Then drag a selection similar to mine in step 23 so that the inset lines above the dent and wheel are selected too. Then hit Ctrl + Shift + I to inverse the selection. Hit the delete key to get rid of the inset line below the dent. Then select the INSET LINE copy layer and do the same thing. Deselect. |
|
 |
Now
select the Eraser tool Ok - the mouse is finished - but it still looks a bit flat and boring. It's time to add the final details... |
|
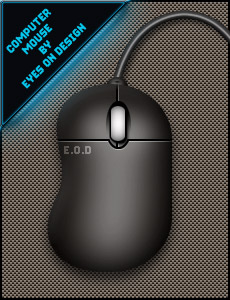 |
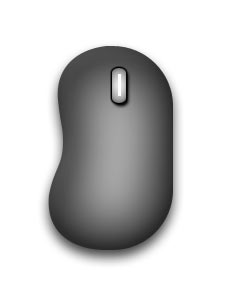
The
first thing I did was to add a Color Overlay on the Mouse layer
with these
settings (black color). Then I added a new layer on top of all the other layers. Filled it with a brown color (#A67C52) and changed the layer mode from Normal to Hue. And
there we go! |
|
Only permitted Images and Material may be downloaded from this web site.