 |
  |
|
|
|
Page
2
|
||
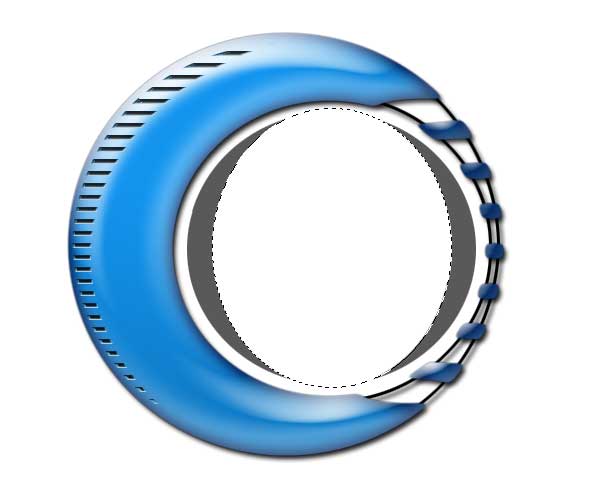 Fig. 12 |
Now it's time to fill our interface with some cool stuff :) Select the background layer and create a new layer called Aqua Triangles. Select the Elliptical Marquee Tool and make a selection that fits inside the Interface. Fill the selection with gray #595959. Then make a new selection similar to mine in fig. 12 and hit the Delete key.
|
|
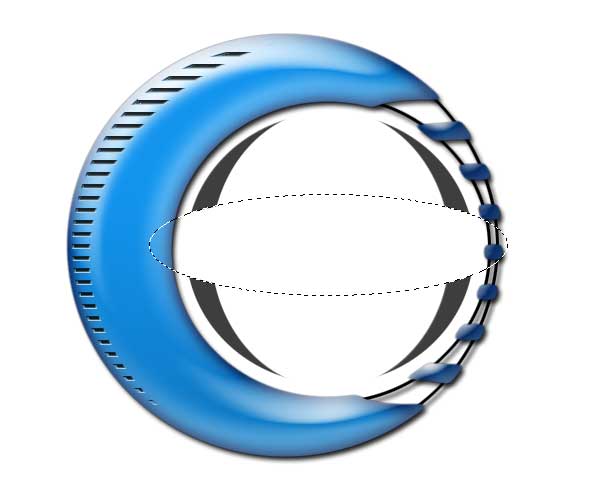 Fig. 13 |
Make a new selection according to mine in figure 13 and hit the Delete key again. Deselect. |
|
 Fig. 14 |
Now apply the same layer style that we used in step 5 (the Interface layer). Then
add some Drop Shadow. Your
image should now look like figure 14. |
|
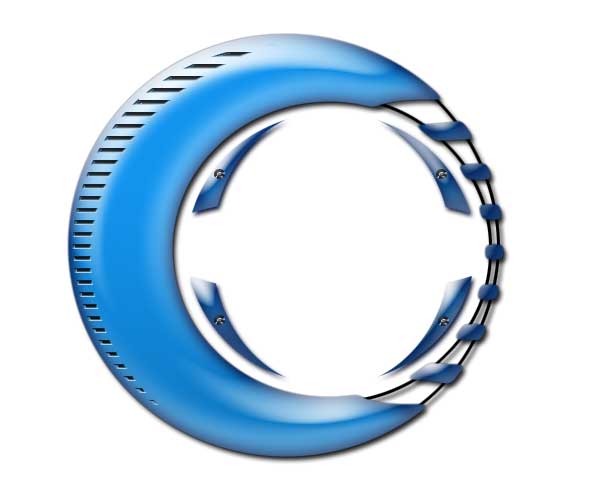 Fig. 15 |
Then
I added some bolts. Paste them in a layer above the Aqua Triangles layer and call the layers Bolts. Then I added some Bevel and Emboss layer style with these settings. |
|
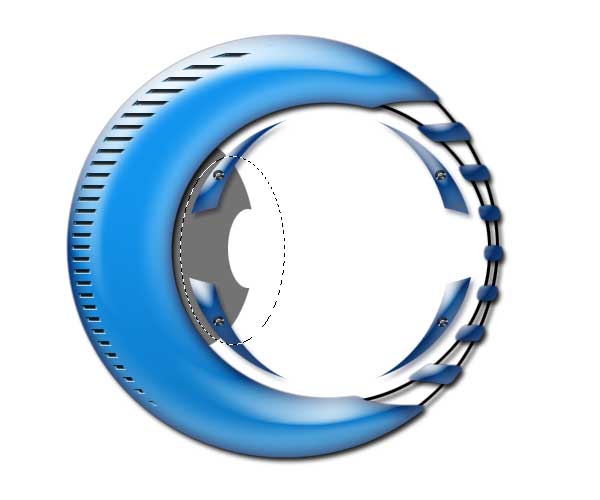 Fig. 16 |
Activate the background layer and create a new layer called Chrome Detail. Use the Elliptical Marquee Tool to create an ellipse that slides beneath the interface like shown to the left. Then make a smaller selection and get rid of some of the right side of the ellipse. Then make yet a new selection like the one shown in figure 16 and then inverse the selection (Ctrl + Shift + I) and hit the Delete key. |
|
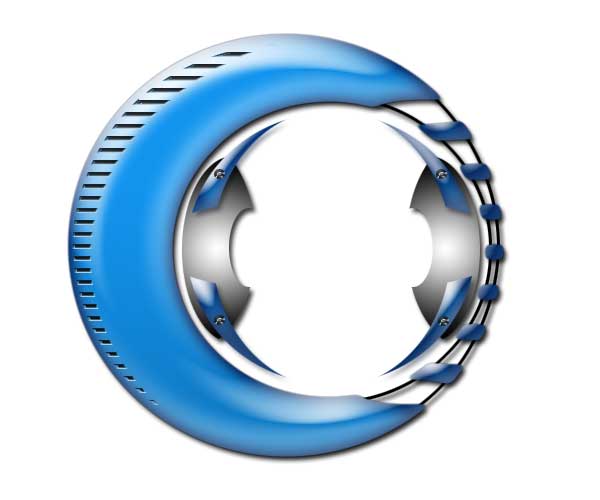 Fig. 17 |
Then
duplicate the layer and go to Edit - Transform - Flip
Horizontal. Then apply some Drop Shadow (default settings) and Gradient Overlay with these settings. Your image should now look like figure 17. |
|
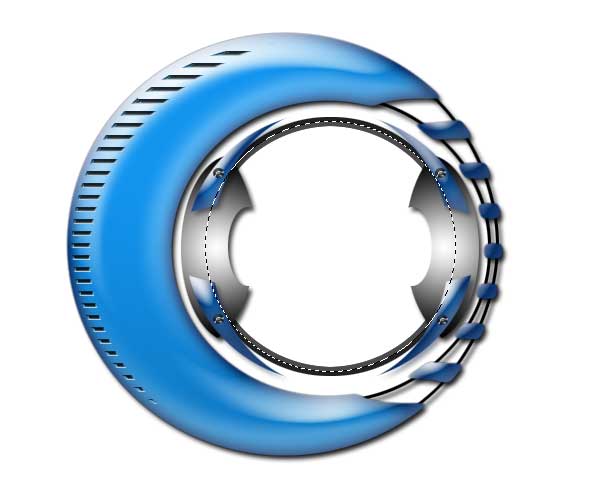 Fig. 18 |
Activate the background layer again and create a new layer called Ring 1. Use
the Elliptical Marquee Tool to make a selection like mine in figure
18. Keep your selection! Create
a new layer called Ring 2, make a lighter gray your foreground
color (#4B4B4B) and go to Deselect. |
|
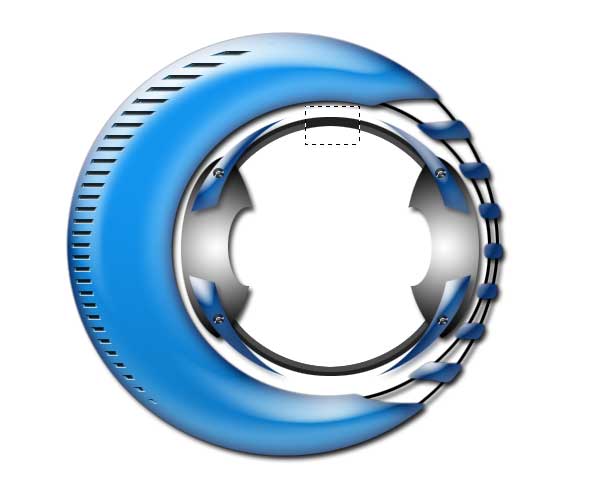 Fig. 19 |
Still at the Ring 2 layer make a selection like the one shown in figure 19 and hit the Delete key. Then nudge the selection down to the bottom of the ring and hit the Delete key once more. |
|
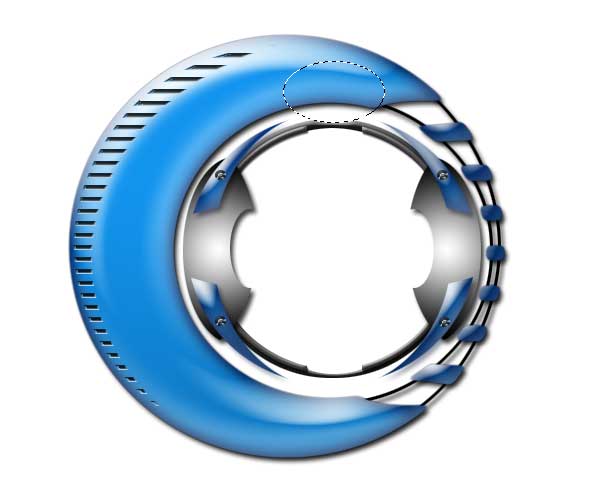 Fig. 20 |
Activate the Ring 1 layer. Make
a selection like the one shown in figure 20 and hit the Delete key. Click here to see the Layer style settings Ring 1. Layer
style settings Ring 2: |
|
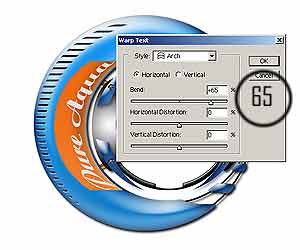 Fig. 21 |
Ok - time to add some text... Create a new layer on top of all the other layers and use the Type Tool to type whatever text you want, Then
go to Edit - Transform - Rotate 90° CCV. I used the settings shown in figure 21 for my text, but another font/fontsize will need a slight different setting. This is just to show you how to use the warped text tool... |
|
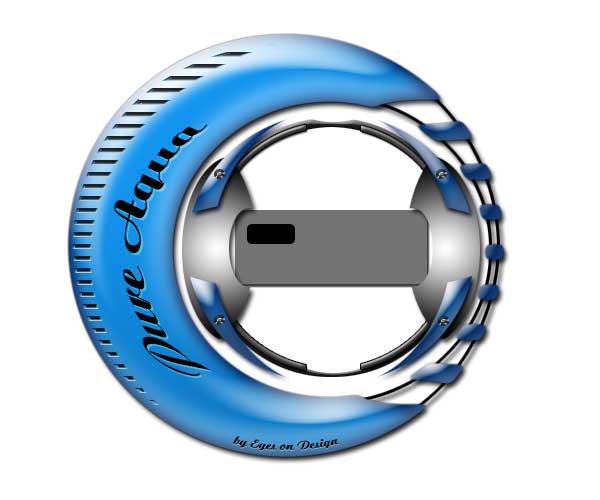 Fig. 22 |
Activate the Background layer and create a new layer called Background Buttons. Use the Rounded Rectangle Tool to make a selection according to mine in figure 22. Make
sure the Create Filled Region is checked Then
create a new layer above the Background Buttons layer and
call this layer Button. |
|
|
|
Only permitted Images and Material may be downloaded from this web site.